JSP
今日目标:
- 理解 JSP 及 JSP 原理
- 能在 JSP中使用
EL表达式和JSTL标签- 理解
MVC模式和三层架构- 能完成品牌数据的增删改查功能
2,JSP 快速入门
接下来我们做一个简单的快速入门代码。
2.1 搭建环境
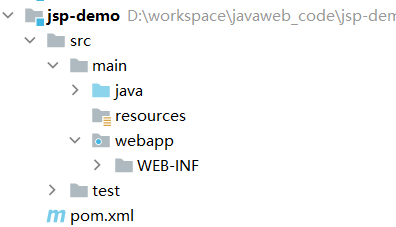
创建一个maven的 web 项目,项目结构如下:
pom.xml 文件内容如下:
x
<project xmlns="http://maven.apache.org/POM/4.0.0" xmlns:xsi="http://www.w3.org/2001/XMLSchema-instance" xsi:schemaLocation="http://maven.apache.org/POM/4.0.0 http://maven.apache.org/xsd/maven-4.0.0.xsd"> <modelVersion>4.0.0</modelVersion> <groupId>org.example</groupId> <artifactId>jsp-demo</artifactId> <version>1.0-SNAPSHOT</version> <packaging>war</packaging> <properties> <maven.compiler.source>8</maven.compiler.source> <maven.compiler.target>8</maven.compiler.target> </properties> <dependencies> <dependency> <groupId>javax.servlet</groupId> <artifactId>javax.servlet-api</artifactId> <version>3.1.0</version> <scope>provided</scope> </dependency> </dependencies> <build> <plugins> <plugin> <groupId>org.apache.tomcat.maven</groupId> <artifactId>tomcat7-maven-plugin</artifactId> <version>2.2</version> </plugin> </plugins> </build></project>
2.2 导入 JSP 依赖
在 dependencies 标签中导入 JSP 的依赖,如下
xxxxxxxxxx


<dependency>    <groupId>javax.servlet.jsp</groupId>    <artifactId>jsp-api</artifactId>    <version>2.2</version>    <scope>provided</scope></dependency>
该依赖的 scope 必须设置为 provided,因为 tomcat 中有这个jar包了,所以在打包时我们是不希望将该依赖打进到我们工程的war包中。
2.3 创建 jsp 页面
在项目的 webapp 下创建jsp页面
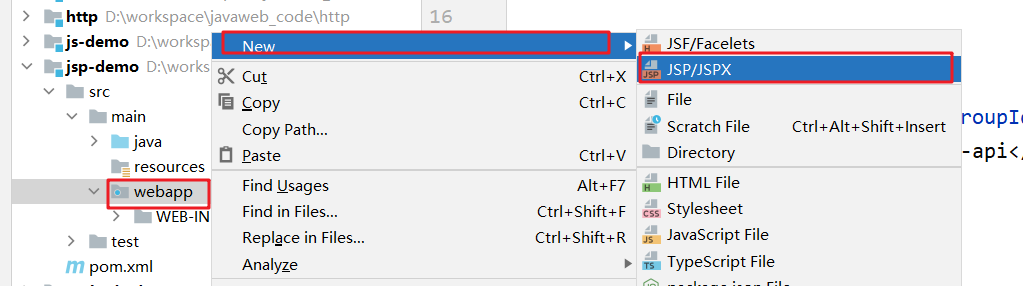
通过上面方式创建一个名为 hello.jsp 的页面。
2.4 编写代码
在 hello.jsp 页面中书写 HTML 标签和 Java 代码,如下
xxxxxxxxxx
<% page contentType="text/html;charset=UTF-8" language="java" %><html><head> <title>Title</title></head><body> <h1>hello jsp</h1> <% System.out.println("hello,jsp~"); %></body></html>
2.5 测试
启动服务器并在浏览器地址栏输入 http://localhost:8080/jsp-demo/hello.jsp,我们可以在页面上看到如下内容
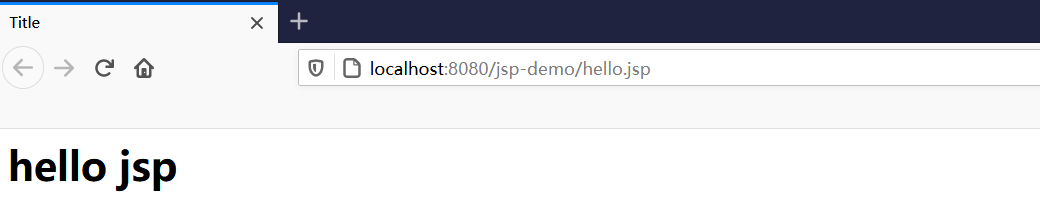
同时也可以看到在 idea 的控制台看到输出的 hello,jsp~ 内容。